Create a Hole Wizard pattern automatically
Creating a Hole Wizard pattern when adding a new fastener is almost identical to adding a single fastener:
- Open an assembly
- Click Add Fastener in the Lightning toolbar
- Select a type, size and material
- Select a washer type or select None
- Drag the fastener file in your assembly from the Create Pattern button.
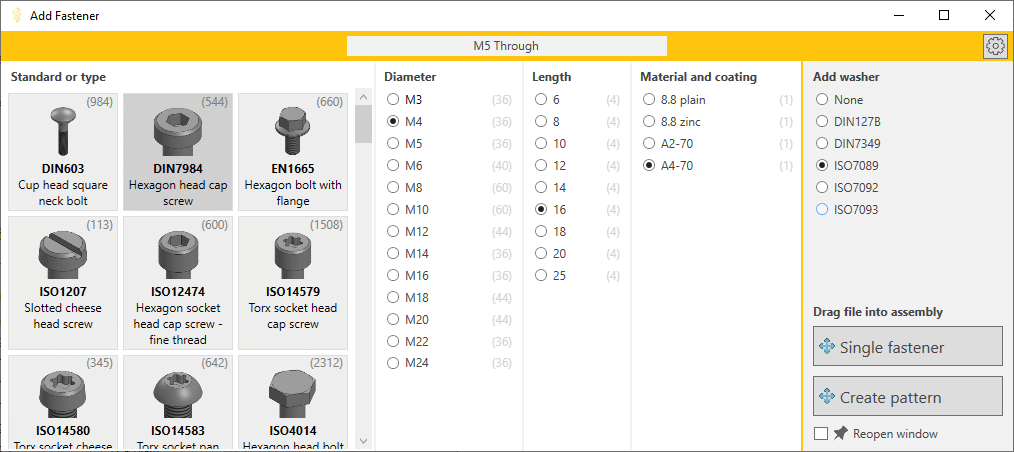
Pattern the added fastener automatically
After you drag the file into your assembly (and we optionally add a washer), we add a Pattern Driven Component Pattern.
For this to work, you need to drag the file onto a hole made by the Hole Wizard and the file needs to snap in place with Mate References.
If the holes in your part are created by a Cut Extrude feature, we can also add a bolt to every hole in a Cut-Extrude, but we don’t create a pattern feature.
How to select the correct seed position hole
Lightning makes it easy to create the perfect component pattern. Follow these steps:
- Preselect a hole that belongs to a Hole Wizard feature.
- Click Add Fastener
- We now change the selection. We select the hole that belongs to the seed position.
- Drag your fastener from the Create Pattern button onto the hole that we selected.
- We create the perfect pattern for you.