Smart export – use custom properties, sheet names, dates
You store your preferences regarding exporting files in Drew’s Blueprints, in the form of Export Presets. You can use variables like custom properties to create filenames, so you never have to do that manually ever again.
We use your SOLIDWORKS export settings as well. These settings control, for example, how drawings with multiple sheets are exported to DWG and DXF.
How to view your Export Presets
In the Drew settings, click the Exports tab for an overview of your Export Presets. Click the plus button to add a new setting, then click the pencil icon to edit the setting:

For more details on how to set up your settings, check out Export Presets: Save your export settings.
How to export a part, assembly or drawing
Once you have created Batch Presets and you have a model open, we will show relevant presets in the task pane:

Just click the button and we will do the rest. We will build a file path using the variables you have entered and if you have enabled Confirm path, we will ask you to confirm the file path we build. If not, Drew just goes ahead and saves the file there.
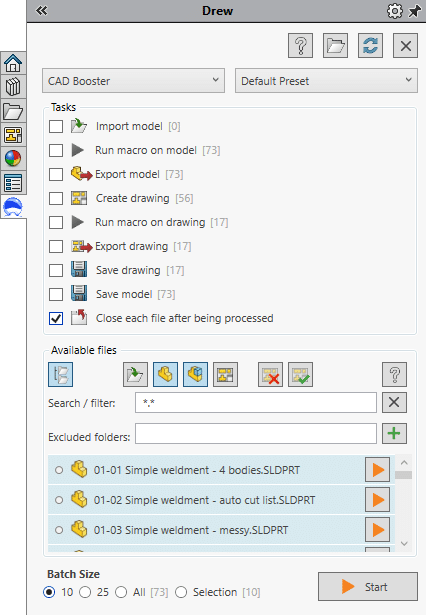
How to batch export files
Drew has a great batch tool that lets you perform tasks on all components in an assembly or all files in a folder.
The batch tool contains an Export model task and an Export drawing task. Enable this task, select one or more file extensions and click Start.